Lacto-Fermented Red Sauerkraut
Sauerkraut was the first type of fermentation that I ever tried, and I loved it so much that it has become an absolute staple in our home. I’ve tried both green and red cabbage; I’ve tried adding caraway seeds and garlic, but when it comes down to it, nothing beats pure red sauerkraut for me.
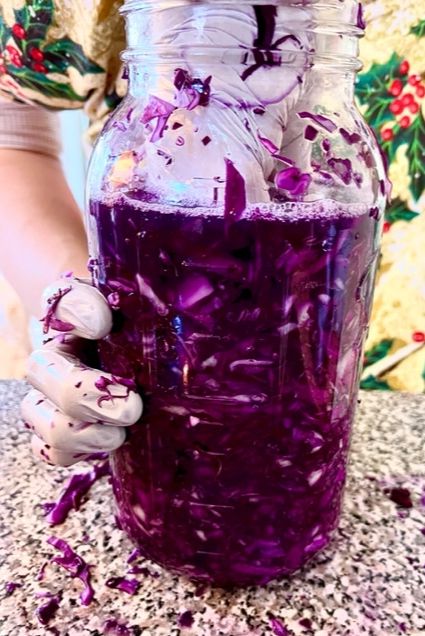
This recipe requires two ingredients: organic red cabbage and mineral salt. Red cabbage has a stronger, more earthy taste than green and takes longer to ferment/break down. But it’s worth it. Trust me. The longer it ferments and the longer the lacto-bacteria proliferate, the more the sour flavor matures.
We make red sauerkraut in bulk and it typically lasts us about six months. So even though it’s labor intensive to make so much at once, it’s worth it for us to have a constant supply of sauerkraut for salads, a no-work addition to most meals, or our favorite side dish for pork carnitas!
affiliate disclaimer: This post contains affiliate links. See my full affiliate disclosure for more information.
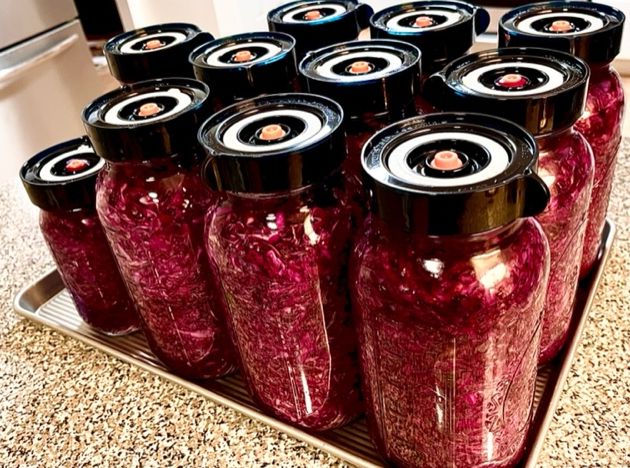
Lacto-Fermented Red Sauerkraut
Equipment
- 8-10 ½ gallon mason jars
Ingredients
- 15 red cabbages
- mineral salt
Instructions
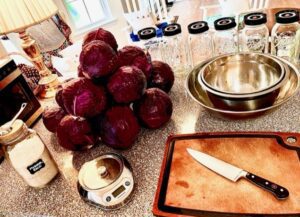
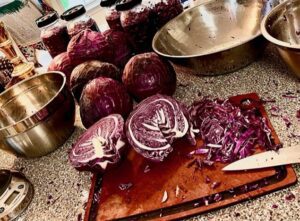
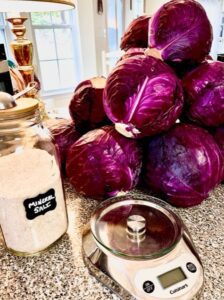
- Assemble your equipment and ingredients. If you can find a second person to help, the process will be more fun and go much quicker!

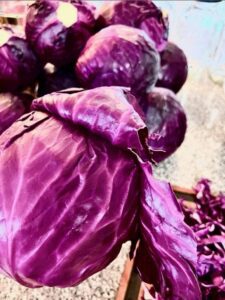
- Peel outer cabbage leaves off 2 cabbages and compost or give to your chickens.

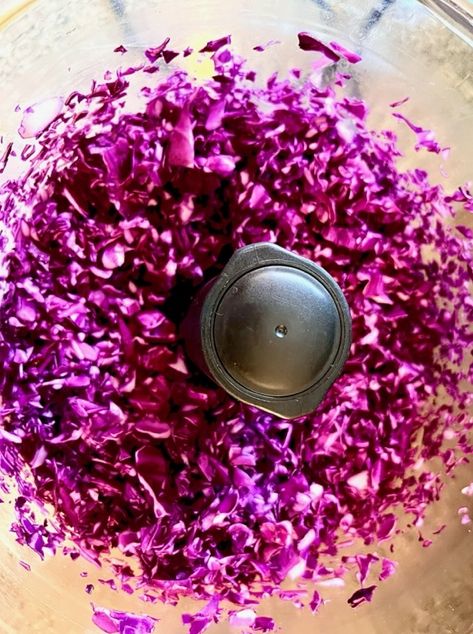
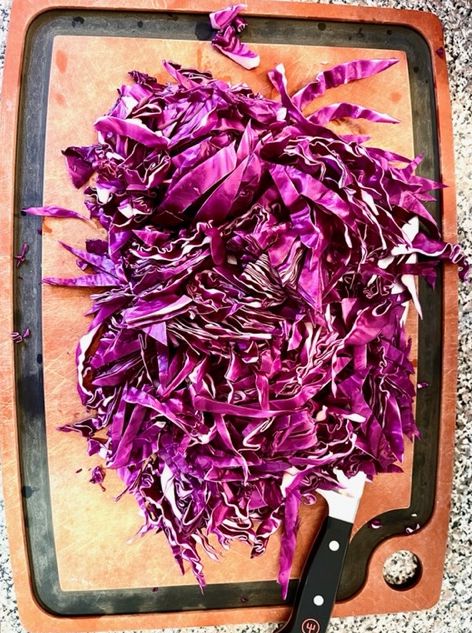
- Chop two cabbages, composting the fibrous inner stems.

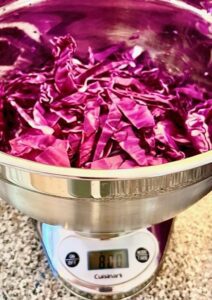
- Tare digital scale to read 0 with an empty bowl on top, then measure 800 grams of chopped red cabbage.

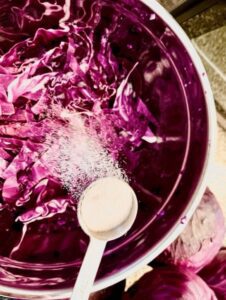
- Add 1 tablespoon of mineral salt to 800 grams of red cabbage.

- Toss chopped cabbage with mineral salt, then resume chopping new heads of cabbage.

- Chop and measure the next 800 grams of cabbage.

- Meanwhile, the resting salted cabbage will begin to release its juices, making the packing process much easier.

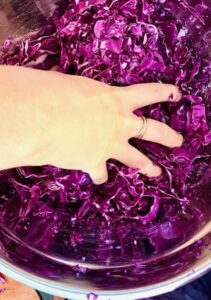
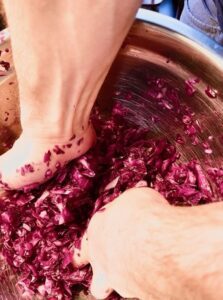
- Once the first 800 grams has cabbage juice gathering in the bottom of the bowl, heavily massage the cabbage to release as much brine as possible.

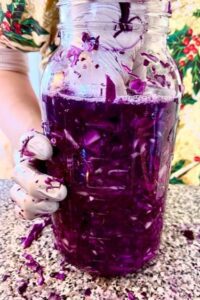
- Add handfuls of massaged cabbage into your mason jars, packing them down with your fist as you go.

- The goal is to create enough brine with your packing that it fully immerses the cabbage each time you use your fist to pack down the cabbage. Continue packing until the jar is a little over ¾ full.

- Repeat steps 1-11 until all your cabbage is processed into your jars.

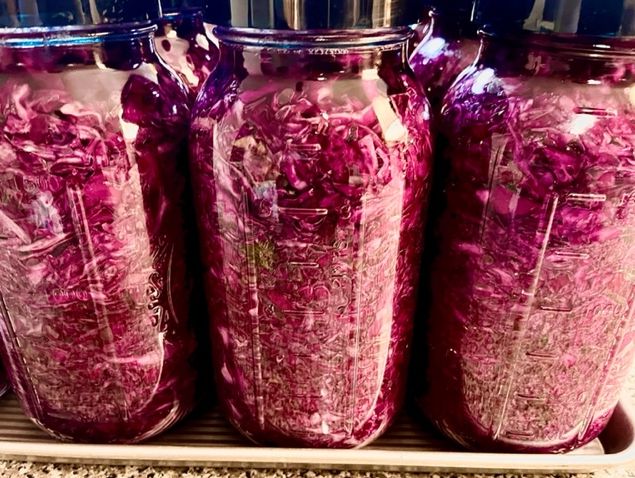
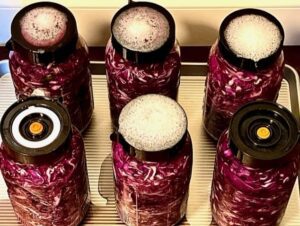
- Seal each of your jars with a fermenting lid, then rinse extra cabbage pieces/brine off of your jars. Place jars in a rimmed pan to collect any brine that leaks out overnight.

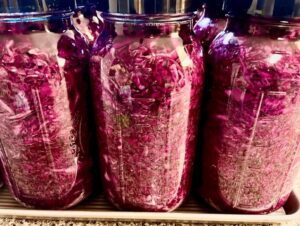
- By the next morning, your jars should have produced enough brine to fill the last 1/4 of the jar completely full. You may see bubbles inside the jars, or they may be leaking or bubbling through the top of the fermenting lid. These are all good signs!

- Allow your sauerkraut to ferment in a cool, dark location for at least 30 days before consuming. (We typically use the bottom of our pantry.)

Notes
Making sauerkraut for the first time was super intimidating to me when I first started 5 years ago. Now, it’s a fun family activity that our son can help with. Regular consumption of fermented foods can help to regulate bowel function, but sauerkraut in particular seems to help our daughter with occasional bouts of constipation. Both our older kids often ask for plates of just sauerkraut when they’ve finished their other food. Generally, I have found homemade yogurt and sauerkraut to be the 2 most effective ways of incorporating fermented foods into the everyday diet of our kids.
Have you ever made sauerkraut? Do you make it in bulk or prefer green cabbage? Leave a comment below and share your experience!

