Super-Simple Homemade Yogurt
The health benefits of fermented dairy, such as yogurt, are well-documented. Yogurt is such an easy and kid-friendly option for snack, but most commercial yogurts have way too much sugar and can be expensive. The prospect of homemade yogurt was really intimidating to me until I tried it and discovered how easy it was. There are many ways to make yogurt, but I find this method the easiest.
I purchased a yogurt starter culture from a company called Cultures for Health. Once the yogurt is started, all you need to do is reserve a little less than one quart from each batch of yogurt you make to start the next. Then, all you need is a gallon of whole milk, a stock pot and a candy thermometer. I have found homemade yogurt and red sauerkraut to be the two simplest ways of incorporating fermented foods into the everyday diet of our kids without any battles or meltdowns.
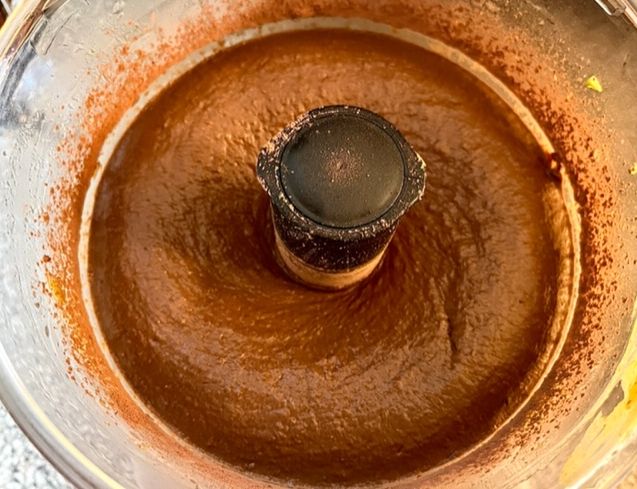
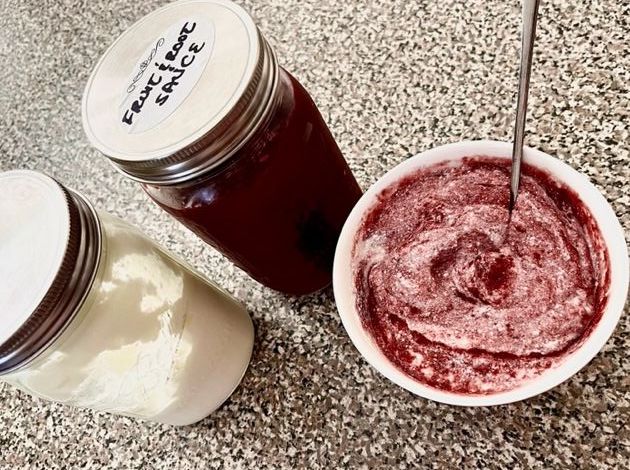
My favorite way to serve my kids yogurt is with a homemade sauce we call “Fruit and Root Sauce,” which is basically cooked and pureed apples, pears, carrots, radishes, and berries. I simply mix this sauce with the homemade yogurt for a high-protein snack filled with beneficial probiotics and fiber, which, for the kids, tastes just as good as any commercially available yogurt 🙂 You can find the full recipe for Fruit and Root Sauce here!
affiliate disclaimer: This post contains affiliate links. See my full affiliate disclosure for more information.

Super-Simple Homemade Yogurt
Equipment
Ingredients
- 1 gallon whole milk
- ¼-½ cup prior-batch yogurt as starter
Instructions
- Reserve ¾-1 quart of yogurt from your prior batch.

- Pour the gallon of milk into your soup or stock pot.
- Scald the milk on low-medium heat until it reaches 165℉, then turn off heat and allow to cool to between 110℉-115℉.
- Evenly distribute the yogurt from your prior batch into 4-5 quart-sized mason jars.
- Pour cooled, scalded milk into each of mason jars and stir the contents of each jar thoroughly.
- Place in dehydrator at 110℉ for 24 hours to allow bacteria to colonize. After 24 hours, you can remove and place in the refrigerator.


Notes
I really encourage you to try making your own yogurt as an economical and empowering way of taking ownership for your family’s health. It lasts for weeks in the fridge and is endlessly renewable as long as you keep feeding it with milk. It’s also a great first food for babies and toddlers. I mix our homemade yogurt with fruit and root sauce, then place it in these reusable, silicone pouches for little ones to begin learning how to feed themselves.
Have you ever tried to make your own yogurt, kefir, or cheese? How did your kids respond? Leave a comment below and share your story!